If you read this title for the first time, you may be excused for wondering why I’m happy about a 2-hour “time to image”: usually “time to image” means the time it takes for a interactive renderer to get from starting to load a model to when it is ready to display the first image on screen … and anything over “seconds” is usually not all that useful. In this case, however, I meant “time to first image” in the sense of “starting with a completely blank repo, to having a interactive OWL/OptiX-based viewer that can render a model”. And in that meaning, two hours IMHO is pretty awesome!
Let’s take a step back. Why did I actually do this?
On Sunday, I finally posted a first article on OWL, which only recently got tagged as “1.0”, i.e., with some reasonable claim to “completeness”. In this article, I made a big deal about how much easier OWL can make your life if you want to write an OptiX/RTX accelerated GPU ray tracer …. but what could I actually base this claim on? Sure, I/we have by now several non-trivial OWL-based renderers that show what you can do with … but how would one actually measure how easy or productive its use would be?
While on the way to get my coffee I decided to simply run a little self-experiment – initially not to prove a point, but simply because I was curious myself: To do that, I decided I’d pick something simple I always wanted to write but never got around to (I picked a structured-volume direct volume renderer), and then spend a day or two trying to write one. Using OWL, of course, but otherwise starting with a blank repo, with no other libraries, etc…. and to keep an eye on the clock, to see where time goes while doing that.
Stage 1
Oh-kay …. how’d it go? I got home from the coffee run that gave me that idea (had only sipped at this coffee so far…), then went to gitlab, created a new blank repo, called it owlDVR. Cloned it, added submodule, created a CMakeLists.txt that is about 15 lines long, created a ‘deviceCode.cu’ with a dummy raygen program, and started on some simple host code: created a ‘Model’ class to hold a initially procedurally generated N^3 float volume, created a new windowed viewer by deriving from the owlViewer that comes with the owl samples, overrode the ‘render()’, ‘cameraChanged()’ and ‘resize()’ methods, and then started on the actual OWL code: create context, launch params, and raygen; build pipeline and SBT; upload the volume into a buffer and assign that buffer and volume size to launch params in the constructor (and of course, build pipeline and SBT); then add some owlLaunch2D() in Viewer::render() and some owlParamsSet()’s for the camera in Viewer::cameraChanged() ….. and that was pretty much it from the host side.
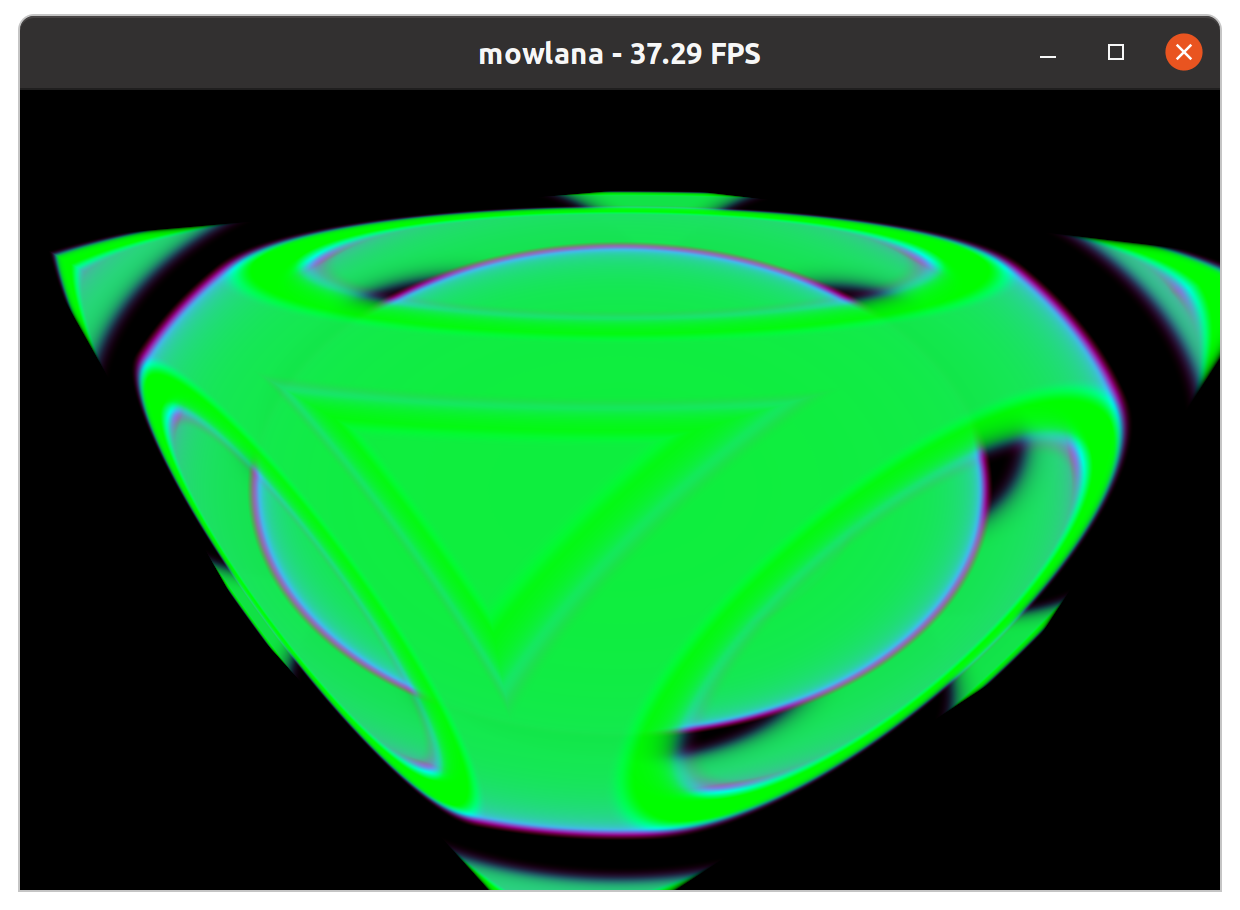
Then take the deviceCode.cu, and start filling out the raygen program: create a ray from the camera parameters that I put into the launch params, intersect ray with the bounding box of the volume, step the ray in dt’s through the resulting [t0,t1] interval, add a tri-linear interpolation on the buffer holding the volume data; put the result into a hand-crafted procedural “transfer function” (pretty much a clamped ramp function), and get this (and of course, you can interactively fly around in this):

Not really super impressive as a volume renderer per se …. but finally looking at the clock, the whole project took slightly less than two hours, on nothing more than a laptop, while sipping a cofffee. And full disclosure: these two hours also include helping my son with some linear-algebra math homework (yes, covid-homeschooling is just great…).
Of course, I’ve now written a ton of other OWL samples myself, so I’ve gone through the motions of creating an OWL project before, and knew exactly what to do – somebody that’s never done that before might take a while longer to figure out what goes where. However, this still surprised myself about just how quickly that worked – after all, this is not just a simple blank window, but even already includes volume generation, upload, and a more or less complete ray marcher with transfer function etcpp … so the actual time spent on writing OWL code is even way less than that – and that surprised even me.
Stage 2: Fleshing it out
After this “first light” was done, I did spend another two hours fleshing this sample out a bit more: first adding CUDA hardware texturing for the volume and the transfer function, then later some actual model loaders for various formats, and some prettier shading via gradient shading …. all of which took another two hours, which were roughly spent in equal times on
a) creating textures, in particular the 3D volume texture : the transfer function texture was simple, because OWL already supports 2D textures, so that was trivial; the volume texture I had to first figure out how CUDA 3D textures even work, which took a while.
b) creating the actual transfer functions and color maps – I liberally stole some of Will Usher’s code from our exabricks project for that, but then spent half an hour in finding a bug in re-sampling a color map from N to M samples. (I guess the coffee had worn off by that time ![]() ).
).
c) adding loaders, fleshing out float vs uint8 format differences, adding gradient shading, etc.
All together that second stage took another two hours (and in that case this does include the time to help our “tile guy” unload his truck for our bathroom remodel…). Here some images that show the progression of that second stage: left the original first-stage volume with a simple hard-coded ramp transfer function and manual tri-linear interpolation; then the first picture with CUDA textures and a real color map in the transfer function; then after adding a loader for the 302^3 float “heptane” model, and on the right, after adding uint8 volumes and adding gradient shading, with the 2048^2×1920 LLNL Richtmyer/Meshkov-250 model (I had to move to my 3090 for the latter – laptop didn’t have enough memory).


The main thing I haven’t added yet is a real transfer function editor widget, and of course, as with any GUI code that may well end up taking more time than all the above combined… but as a “proof of concept” I’d still argue this experiment was quite successful, because the one thing that I did not have to spend much time on in the entire project was anything involving OWL, SBTs, programs, buffers, etc.
One valid question that any observant reader could raise is that in this sample I didn’t actually use anything that really required RTX and OptiX – I did not create a single geometry, and could have done the same with just plain CUDA. This is true (obviously), and in retrospect I might have picked another example. However, adding some additional lines of code to create any triangle meshes at this point would indeed be trivial, and would almost certainly take less than 5 minutes… In fact, I might do just that for adding space skipping: all I’d need is creating some rough description of which regions of the volume are active, then I could trace rays against that to find entry- and exit-points, and done.
Where to go from here?
As mentioned above, this little experiment started as a little exercise in “I want to know for myself”; and the main motivation for this blog post was to share that experience. However, literally while writing this blog I also just realized how useful it would be for for some users if I documented the individual steps of this toy project in a bit more detail, ideally in enough detail that somebody interested in OWL and/or OptiX could follow the steps one by one, and end up with something that would be “my first OWL / OptiX program, in less than a day”….. That would indeed make a lot of sense; but that’ll to wait for another post…
